One of my biggest pet peeves is being sticky.
I hate the feeling of stickiness on my hands. I was never a “put glue in my hands and then peel it off” kid. I’ll only eat an orange if I’m going to immediately shower afterward. Even when it comes to my favorite people — my niece and nephews — I stand my ground; I refuse to pick up a sticky-tablet three year old (sorry Lucy, your Aunt Maggie still loves you).
Knowing that fact about me, it’s pretty strange to learn my job at home: I work in a caramel apple shop.
Heather’s Gourmet Caramel Apples has the single best caramel apples I have ever had in my life. They are huge honeycrisp apples with delectable caramel covered in an array of toppings — there’s something for everyone.
Working there, I learned more than a few tricks of the trade. I learned from the best caramel apple maker — Heather herself — and I have brought my dipping and topping skills with me to college.
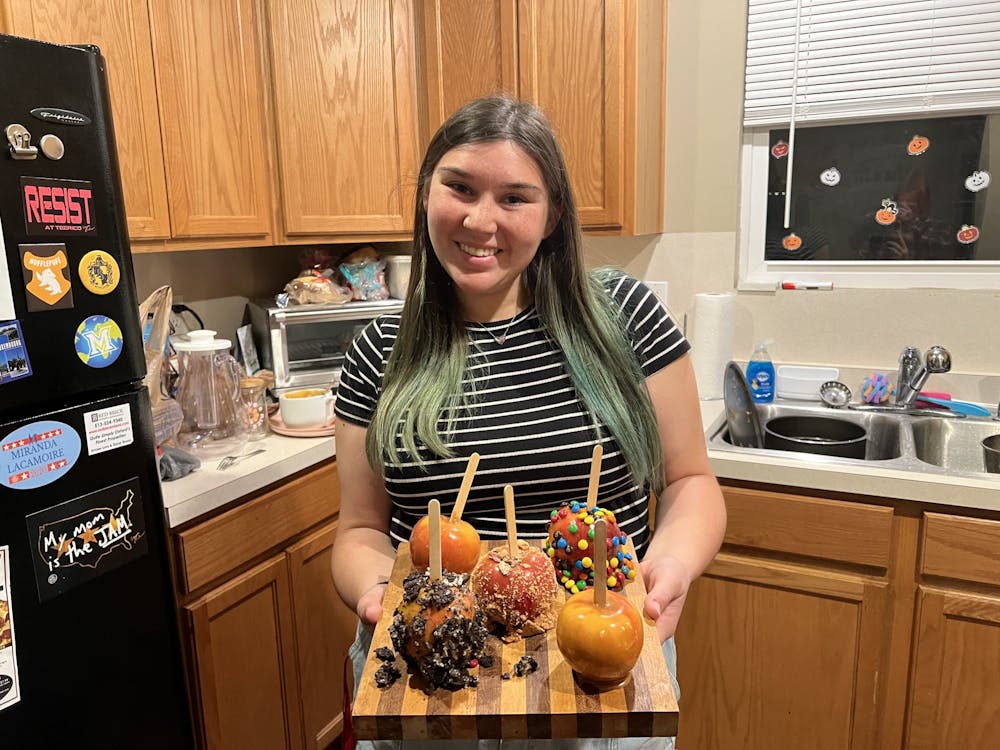
I don’t have as much free time as I would like to make desserts, but with Halloween upon us, I thought it would be fitting to treat my friends to some delicious caramel apples. Plus, I just miss dipping apples everyday.
So, I present to you a very easy, cheap, residence-hall friendly recipe for caramel apples.
*Note: these do not compare even slightly to Heather’s caramel apples. Hers are much better. Take the hour drive to Springboro, Ohio to grab a couple. You won’t regret it.
- These are all the ingredients you’ll need: (you can adjust amounts for however many caramel apples you’d like to make): apples, heavy whipping cream, chewy caramel candies (I used Werther’s), sticks (ideally sticks with a pointy end, but popsicle sticks work fine enough) and then whatever toppings you want (I used Oreos, mini M&Ms and Butterfingers).
- Prepare a baking sheet or tray, ideally with parchment paper. I did not have any, and I was fine, parchment paper just makes the process a bit cleaner. Once you have a tray, stab the apples. Importantly, if you don’t want the apples to go bad in one day, make sure you don’t stab all the way through the bottom of the apple. About ¾ of the way through is ideal.
- Next, I’d recommend preparing your toppings. In theory, the next step is melting the caramel, but you’ll want your toppings ready to go so the caramel doesn’t harden before you can apply them. For my toppings, I put some mini M&Ms in a bowl, then crushed up around six Oreos (for one apple) and about six fun-size Butterfinger bars (for one apple). There will be too much topping, but you want more than you need, otherwise dipping the apples in the topping will be more difficult and messy than it needs to be.
- Melt the caramel. For five apples, I would recommend around 30-40 caramels (depending on the size of the apples and the size of the caramels). I added about 5 tablespoons of heavy whipping cream. I cannot stress enough: these measurements are very approximate. You might find the consistency is too thick or too thin — that’s okay, just add more caramels or more cream until you find a good viscosity.
- Microwave the mixture in intervals of 30 seconds for a total of around two minutes. In between each round in the microwave, I made sure to give it a good stir. When you’re done, you should have caramel that runs off the spoon, but not too quickly (my mistake was making the caramel too thin which makes the toppings slide down).
- Now we’re getting into my craft. For this part: Take your apple and submerge it in caramel until the caramel just barely touches the stick where it meets the apple at the top. Spoon the caramel over the top all around the apple to make sure it’s covered, then lift the apple to let some of the excess drip off.
- We’re still in the dipping zone on step seven, but this is a crucial part. Make sure you scrape most of the caramel off the bottom ⅓ of the apple. If you ignore this step, you will have a big pile of caramel at the bottom of your apple, which sounds nice until you have no caramel at the top of the apple because it all slid down.
- Finally! It’s time to add the toppings. My technique: lay one side of the apple in the bowl, then turn it over a couple times to make sure it’s covered. Then, go back in either with your hands or with a spoon (my preferred tool) and spoon some on the top where it’s likely not covered. Push the toppings onto the apple pretty hard (something I forgot to do which is partly why they are a little ugly).
- Put your apples back on your preparation tray (ideally with parchment paper so they don’t stick) and leave the apples to set. You can leave them out for a couple hours, or put them in the fridge for a shorter wait time.
- Voila! You now have irresistible, easy to make caramel apples for your fall festivities. And you can be proud you actually “cooked” for once (I was, anyway).
-
penaml@miamioh.edu


Enjoy what you're reading?
Signup for our newsletter
Read More

Thirsty? Try these fun drinks from around Oxford
By Ayla Peden | May 7, 2025Have you ever been studying and thought, “I could get so much more done if I had a fun drink?”Now, I know some people like to stick to their signature beverage; I, too, am guilty of this. So, I give you an excuse to try something new with my recommendations.

Here are 4 hidden gem restaurants you need to try in Oxford
By Parker Green | April 23, 2025Last semester, two of my friends and I decided we were going to eat at and review every restaurant in Oxford. Far-fetched? Maybe. Harmful to our wallets? Definitely. But it’s something to do, and sometimes that’s all you can ask for.Though we haven’t yet completed our challenge, my friends and I have found several hidden gems. So, the next time you’re thinking about hitting up Skipper’s or Bagel and Deli for the 1,000th time, consider one of these four places instead.

The success story of OxVegas Chicken: how Miami creates successful graduates
By Oliver Hahn | April 5, 2025OxVegas Chicken may seem, at a glance, to be just another chicken place. But, at its core, it’s a model of Miami University graduate success. Located at 48 E. Park Place Ave., the business was opened by Miami graduates on Jan. 20, 2024.